Master the Art of Grilling: A Step-by-Step Guide on How to Cook Steak on the Grill
- Choose the right cut of steak
- Preheat the grill to high heat
- Season the steak with salt and pepper
- Oil the grill grates to prevent sticking
- Place the steak on the grill and sear for a few minutes
- Flip the steak and sear the other side
- Reduce the heat and continue cooking until desired doneness
- Use a meat thermometer to check the internal temperature
- Remove the steak from the grill and let it rest for a few minutes
- Slice the steak against the grain and serve immediately
Choose the right cut of steak
Choosing the right cut of steak is crucial for a successful grilling experience. Different cuts have different textures, flavors, and levels of tenderness. For grilling, it's best to go with cuts like ribeye, striploin, or tenderloin as they are known for their marbling and tenderness. These cuts will result in juicy and flavorful steaks that are perfect for grilling. Remember to choose steaks that are at least 1 inch thick to ensure even cooking on the grill.
Preheat the grill to high heat
Preheating the grill is an essential step in achieving a perfectly cooked steak. Before you start grilling, make sure to preheat your grill to high heat. This will ensure that the grill grates are hot enough to sear the steak and lock in all those delicious flavors. Preheating also helps to create those beautiful grill marks that add visual appeal to your dish. So, take the time to preheat your grill properly and get it nice and hot before you begin cooking your steak.
Season the steak with salt and pepper
After choosing the right cut of steak and preheating the grill to high heat, it's time to season the steak with salt and pepper. This simple step is crucial for enhancing the natural flavors of the meat. Generously sprinkle both sides of the steak with kosher salt and freshly ground black pepper. The salt will not only add flavor but also help tenderize the meat by drawing out moisture. The pepper will provide a subtle kick that complements the richness of the steak. Make sure to evenly coat the entire surface of the steak, ensuring every bite is seasoned to perfection.
Oil the grill grates to prevent sticking
To prevent your steak from sticking to the grill grates, it's important to oil them before cooking. This simple step will ensure that your steak cooks evenly and doesn't tear apart when you try to flip it. To oil the grill grates, simply dip a paper towel in vegetable or canola oil and use tongs to rub it over the grates. Make sure to coat both sides thoroughly. This will create a non-stick surface and help your steak develop those beautiful grill marks. Remember, a well-oiled grill means a perfectly cooked steak!
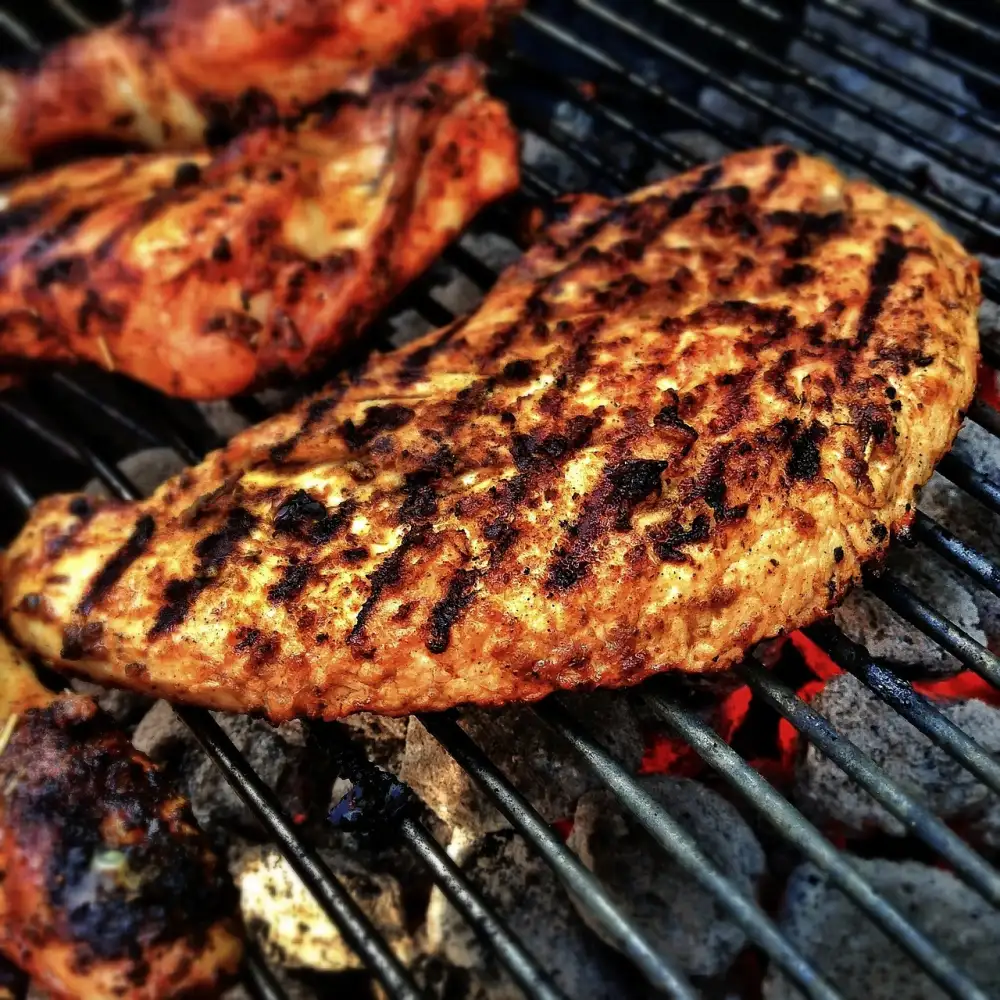
Place the steak on the grill and sear for a few minutes
Once you have preheated the grill to high heat, it's time to place the steak on the grill and sear it for a few minutes. This initial searing will help to lock in the juices and create those beautiful grill marks that add flavor and visual appeal to your steak.
Carefully place the seasoned steak directly onto the hot grill grates. You should hear a sizzling sound as soon as it touches the surface. Avoid overcrowding the grill by leaving some space between each piece of meat.
Allow the steak to sear undisturbed for about 2-3 minutes, depending on its thickness and desired level of doneness. During this time, resist the temptation to constantly flip or move the steak around as it needs time to develop a nice crust.
After a few minutes, use tongs to carefully lift one edge of the steak and check if it has developed a caramelized crust. If so, it's time to flip it over and repeat the process on the other side.
Remember, searing is all about creating that delicious outer crust while keeping the inside juicy and tender. So be patient and let each side sear properly before flipping.
Once both sides have been seared, you can adjust the heat on your grill by reducing it to medium or low depending on your preference and continue cooking until your desired level of doneness is achieved.
Now that you've successfully completed this step, get ready for that mouthwatering aroma wafting from your grill!
Flip the steak and sear the other side
Once you have seared one side of the steak, it's time to flip it over and sear the other side. Use a pair of tongs to carefully turn the steak, making sure not to pierce it with a fork as this will cause the juices to escape. Allow the second side to cook for another few minutes, ensuring that it develops a nice crust just like the first side. The exact cooking time will depend on the thickness of your steak and your desired level of doneness. Keep a close eye on it to prevent overcooking.
Reduce the heat and continue cooking until desired doneness
Once you have achieved a nice sear on both sides of the steak, it's time to reduce the heat and continue cooking until your desired doneness is reached. This step is crucial in ensuring that the steak is cooked to perfection.
Reducing the heat allows for more even cooking and prevents the exterior from burning while the interior reaches the desired temperature. It also helps to retain the juices within the meat, resulting in a tender and juicy steak.
To determine the doneness of your steak, you can use a meat thermometer. The internal temperature will vary depending on how well-done you prefer your steak. For rare, aim for an internal temperature of 125°F (52°C); medium-rare, 135°F (57°C); medium, 145°F (63°C); medium-well, 150°F (66°C); and well-done, 160°F (71°C).
Remember that these temperatures are just guidelines, and personal preferences may vary. It's always best to cook the steak to your liking.
Continue cooking over reduced heat until the desired internal temperature is reached. Keep in mind that thicker cuts of steak will take longer to cook than thinner ones.
Once your steak has reached your preferred level of doneness, remove it from the grill using tongs or a spatula. Be careful not to pierce or cut into the meat as this will cause valuable juices to escape.
Allow the steak to rest for a few minutes before slicing. This resting period allows for redistribution of juices throughout the meat, resulting in a more flavorful and tender bite.
After resting, slice against the grain of the meat. Slicing against the grain ensures that each bite is tender and easy to chew.
Serve immediately while still hot and enjoy your perfectly grilled steak!
Use a meat thermometer to check the internal temperature
Using a meat thermometer is essential to ensure that your steak is cooked to perfection. Different cuts of steak have different recommended internal temperatures for the desired level of doneness. Insert the thermometer into the thickest part of the steak, making sure not to touch any bones or the grill grates. For rare steak, aim for an internal temperature of 125°F (52°C), medium-rare at 135°F (57°C), medium at 145°F (63°C), medium-well at 150°F (66°C), and well-done at 160°F (71°C). Remember that the temperature will continue to rise slightly as the steak rests, so it's best to remove it from the grill when it's a few degrees below your desired temperature.
Remove the steak from the grill and let it rest for a few minutes
Once the steak has reached your desired level of doneness, it's time to remove it from the grill. However, before diving right into slicing and serving, it's crucial to let the steak rest for a few minutes. This step is often overlooked but is essential in ensuring a juicy and flavorful steak.
When meat is cooked on high heat, the juices inside tend to move towards the center. Allowing the steak to rest off the grill allows those juices to redistribute throughout the meat, resulting in a more tender and succulent bite.
To rest the steak, simply transfer it to a cutting board or a clean plate. Loosely cover it with aluminum foil to retain some heat while still allowing excess steam to escape. Letting the steak rest for about 5-10 minutes will give you optimal results.
During this resting period, you can take this time to prepare any accompanying side dishes or sauces. The waiting may feel like an eternity when you're eager to dig in, but trust me, it's worth it!
By letting your grilled steak rest before slicing into it, you'll be rewarded with a moist and flavorful piece of meat that will have everyone asking for seconds. So exercise patience and resist the temptation to cut right away – your taste buds will thank you!
Slice the steak against the grain and serve immediately
Once your steak has rested, it's time to slice it against the grain. This step is crucial for achieving a tender and juicy result. The grain refers to the lines of muscle fibers running through the meat. By slicing against the grain, you are cutting through these fibers, making each bite more tender.
To identify the direction of the grain, look for the lines running along the length of the steak. Using a sharp knife, position it perpendicular to these lines and make thin slices across the width of the meat. This technique ensures that each slice will be easier to chew and packed with flavor.
As soon as you've finished slicing, serve your perfectly grilled steak immediately. The heat from the grill will have locked in all those delicious juices, and serving it promptly will preserve its optimal temperature and tenderness. Whether you're enjoying it on its own or pairing it with your favorite sides, savor every bite of this mouthwatering masterpiece.
Published: 04. 12. 2023
Category: Food